Forests of the Future: How to Complete and Submit Assignments
assignments.RmdInstalling fofpack
The fofpack package includes all data and assignments
necessary for the course Forests of the Future. It is regularly updated
so it will be necessary to frequently reinstall the package to make sure
you have all the most recent update. This document shows you how to
install fofpack for the first time. The procedure to
re-install is exactly the same. Doing the following will update
fofpack to the latest available version.
The first thing you need is to make sure that the R package
devtools is installed.
if(!require(devtools)) {
  install.packages("devtools")
}
#> Loading required package: devtools
#> Warning in library(package, lib.loc = lib.loc, character.only = TRUE,
#> logical.return = TRUE, : there is no package called 'devtools'
#> Installing package into '/home/runner/work/_temp/Library'
#> (as 'lib' is unspecified)
#> also installing the dependencies 'credentials', 'zip', 'gitcreds', 'ini', 'gert', 'gh', 'xopen', 'usethis', 'miniUI', 'pkgbuild', 'profvis', 'rcmdcheck', 'remotes', 'roxygen2', 'rversions', 'urlchecker'
Once devtools is installed, then you can run the
following:
library(devtools)
#> Loading required package: usethis
install_github("rdinnager/fofpack", dependencies = TRUE, upgrade = TRUE)
#> Using github PAT from envvar GITHUB_PAT
#> Downloading GitHub repo rdinnager/fofpack@HEAD
#>
#> * checking for file ‘/tmp/Rtmpi0tpBK/remotes601d74831025/rdinnager-fofpack-61c79c7/DESCRIPTION’ ... OK
#> * preparing ‘fofpack’:
#> * checking DESCRIPTION meta-information ... OK
#> * checking for LF line-endings in source and make files and shell scripts
#> * checking for empty or unneeded directories
#>   NB: this package now depends on R (>= 3.5.0)
#>   WARNING: Added dependency on R >= 3.5.0 because serialized objects in
#>   serialize/load version 3 cannot be read in older versions of R.
#>   File(s) containing such objects:
#>     ‘fofpack/data/FL_Forest.rda’ ‘fofpack/data/NJ_Forest.rda’
#>     ‘fofpack/data/Week3_FloridaForest.rda’
#> * building ‘fofpack_0.0.0.9010.tar.gz’
#> Warning in utils::tar(filepath, pkgname, compression = compression, compression_level = 9L,  :
#>   storing paths of more than 100 bytes is not portable:
#>   ‘fofpack/inst/tutorials/week_6_lecture/images/2022-09-23 15_09_30-Week 5 Lecture Introduction to Species Distribution Modelling (SDM).pdf - Work -.png’
#> Warning in utils::tar(filepath, pkgname, compression = compression, compression_level = 9L,  :
#>   storing paths of more than 100 bytes is not portable:
#>   ‘fofpack/inst/tutorials/week_6_lecture/images/A+single+niche+axis+e.g.,+pH,+temperature,+or+soil+moisture.jpg’
#> Warning in utils::tar(filepath, pkgname, compression = compression, compression_level = 9L,  :
#>   storing paths of more than 100 bytes is not portable:
#>   ‘fofpack/vignettes/images/2022-09-23 15_09_30-Week 5 Lecture Introduction to Species Distribution Modelling (SDM).pdf - Work -.png’
#> Warning in utils::tar(filepath, pkgname, compression = compression, compression_level = 9L,  :
#>   using GNU extension for long pathname
#> Installing package into '/home/runner/work/_temp/Library'
#> (as 'lib' is unspecified)
Note that if devtools has not been installed properly
then library(devtools) will fail with an error. If this is
the case, try installing devtools again.
dependencies = TRUE and upgrade = TRUE should
force the installation or upgrading of any package dependencies of
fofpack, so you should not have to install dependencies
manually. The output of the above command will depend on what package
you have installed already.
When you run the above code you might get a dialog box like this:
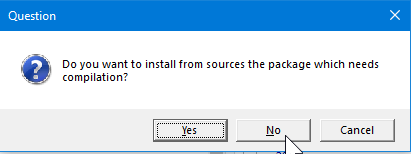 You will
need to make a choice before installation will proceed. I recommend
choosing ‘No’, since you should not need to install from source most of
the time (this just means the package is ‘compiled’ on your computer
instead of simply downloading a ‘precompiled’ package.)
You will
need to make a choice before installation will proceed. I recommend
choosing ‘No’, since you should not need to install from source most of
the time (this just means the package is ‘compiled’ on your computer
instead of simply downloading a ‘precompiled’ package.)
During installation you might get a warning like this:

Installation Warning
In most cases this can be ignored because the package was restored from the old version. To get rid of this warning, you musr clear your workspace and then restart R. The above issue happens if the package was in use when R tried to reinstall it. It generally only happens on Windows.
To test if fofpack has been installed properly, run
library(fofpack), and make sure you get no errors.
###Important: To make sure fofpack has
successfully been updated to the latest version run:
library(fofpack)
#> Loading required package: tidymodels
#> ── Attaching packages ────────────────────────────────────── tidymodels 1.0.0 ──
#> ✔ broom        1.0.1      ✔ recipes      1.0.2
#> ✔ dials        1.0.0      ✔ rsample      1.1.0
#> ✔ dplyr        1.0.10     ✔ tibble       3.1.8
#> ✔ ggplot2      3.3.6      ✔ tidyr        1.2.1
#> ✔ infer        1.0.3      ✔ tune         1.0.1
#> ✔ modeldata    1.0.1      ✔ workflows    1.1.0
#> ✔ parsnip      1.0.2      ✔ workflowsets 1.0.0
#> ✔ purrr        0.3.5      ✔ yardstick    1.1.0
#> ── Conflicts ───────────────────────────────────────── tidymodels_conflicts() ──
#> ✖ recipes::check() masks devtools::check()
#> ✖ purrr::discard() masks scales::discard()
#> ✖ dplyr::filter()  masks stats::filter()
#> ✖ dplyr::lag()     masks stats::lag()
#> ✖ recipes::step()  masks stats::step()
#> • Use suppressPackageStartupMessages() to eliminate package startup messages
#> Loading required package: tidyverse
#> ── Attaching packages ─────────────────────────────────────── tidyverse 1.3.2 ──
#> ✔ readr   2.1.3     ✔ forcats 0.5.2
#> ✔ stringr 1.4.1
#> ── Conflicts ────────────────────────────────────────── tidyverse_conflicts() ──
#> ✖ readr::col_factor() masks scales::col_factor()
#> ✖ purrr::discard()    masks scales::discard()
#> ✖ dplyr::filter()     masks stats::filter()
#> ✖ stringr::fixed()    masks recipes::fixed()
#> ✖ dplyr::lag()        masks stats::lag()
#> ✖ readr::spec()       masks yardstick::spec()
fofpack_up_to_date()
#> package is up-to-date devel version
#> package is up-to-date devel version
#> Everything looks up to date for fofpack!
If your fofpack is not up to date this function will
warn you and provide instructions on how up date.
Once fofpack is installed, assignments should appear in
the ‘Tutorial’ pane of RStudio, where they will be prefixed by the week
(e.g. Week 3: Visualising Tidy Data). If they do not appear, try
restarting R by clicking ‘Session’, then ‘Restart R’ from the RStudio
menu:
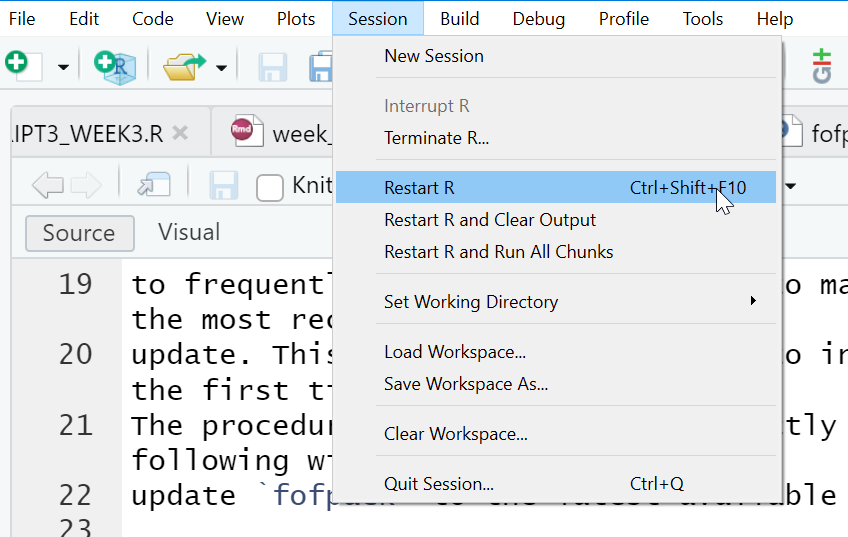
Restart R Screenshot
Doing Assignments
Assignment in the ‘Tutorial’ Pane:

Tutorial Pane Screenshot
Click on the ‘Start Tutorial’ button to render and load the
assignment. If for some reason the assignment is still not showing up in
the ‘Tutorial’ pane, even after restarting R, you can run the assignment
by typing learnr::run_tutorial("week_?", "fofpack") in the
R console, replacing ? with week number for the desired
assignment
(e.g. learnr::run_tutorial("week_3", "fofpack")). It should
look something like this:
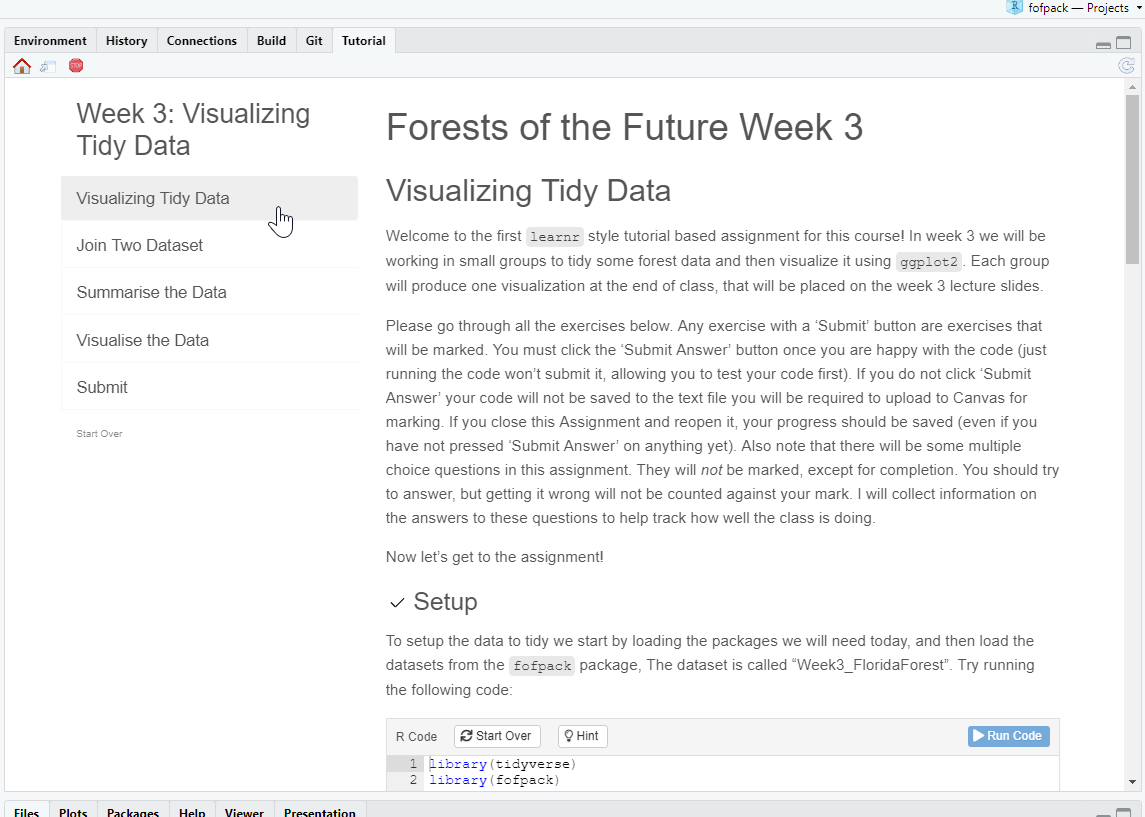
Tutorial Screenshot
Go through the assignment, following the instructions. Code boxes with a ‘Submit Answer’ box are required to be completed for full marks. Note that the ‘Submit Answer’ button currently does not do anything other than run the code in the box.

Submit Button
Submitting Your Work
To actually submit your answers you use the ‘Submit’ section of the assignment. Click on the ‘Submit’ section on the left hand navigation bar for the assignment
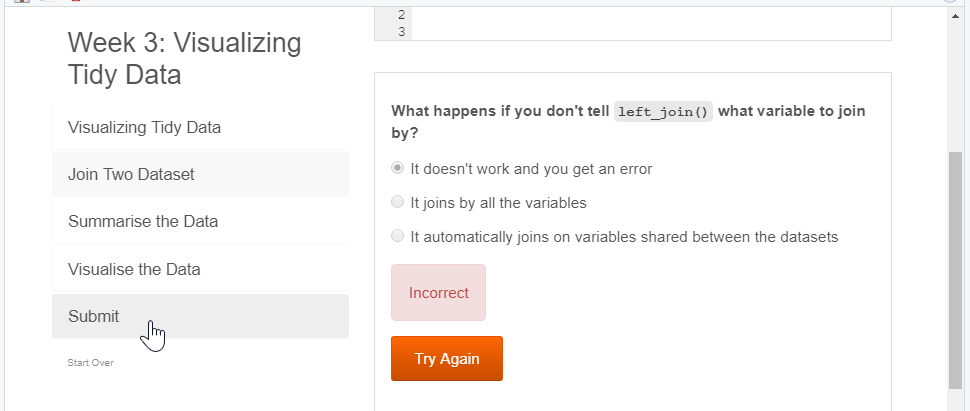
Submit Section
It should look like this:
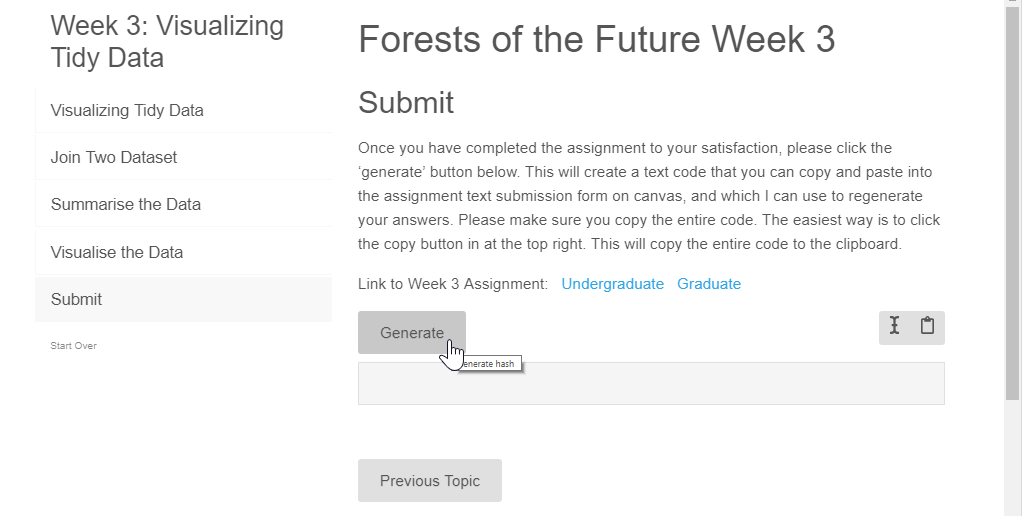
Submit Page
Click on the ‘Generate’ button when you are ready to submit (e.g. you have filled in all of the required code boxes and answered the questions). This will generate a text code like this:
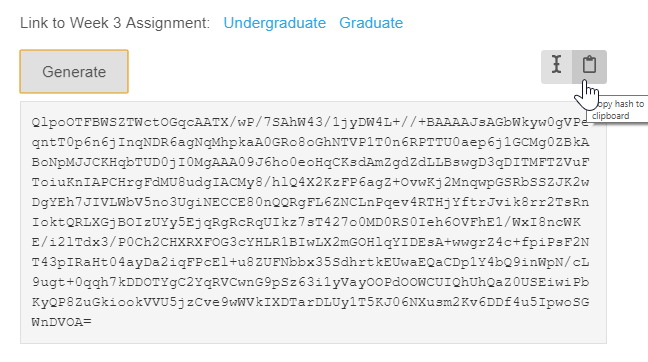
Hash Code
This is called a ‘hash’ code, and your answers are encrypted within
it. I can retrieve your answers from this code once you submit it on
Canvas. Next, click the ‘Copy hash to clipboard’  button to copy the
hash code. This is what you will paste into the assignment on Canvas. On
Canvas paste the copied hash code into the assignment text box:
button to copy the
hash code. This is what you will paste into the assignment on Canvas. On
Canvas paste the copied hash code into the assignment text box:
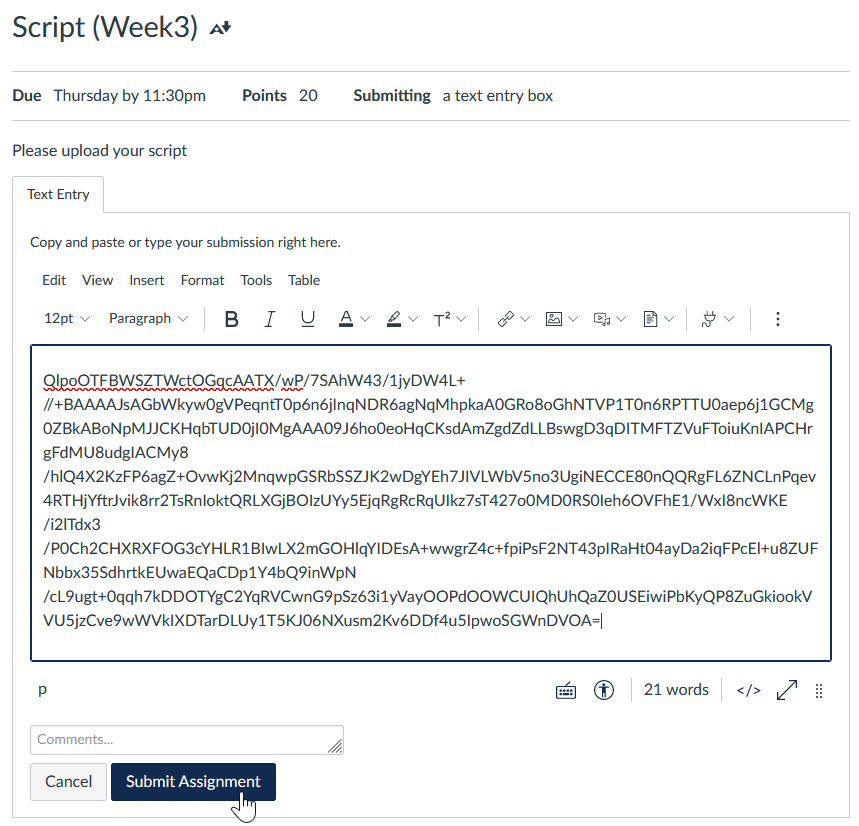
Canvas Submit
Please do not add any additional text in the text box or it will corrupt the hash code and I won’t be able to retrieve your answers. If you need to add any additional information please use the ‘comment’ field.
Saving Your Work
Progress on your assignment should be saved automatically so that if you close it then reopen it, you should not lose anything. On the left side of the assignment is a small ‘Start Over’ button. Be careful! If you click this the assignment will be reset and you will lose all of your work! Individual exercises can also be reset using the ‘Start Over’ button in the code box:
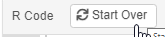
Start Over in Box